How to properly install and seal gutter end caps to prevent leaks
Properly installing and sealing gutter end caps is essential to prevent leaks. Leaks can cause water damage to your property, leading to costly repairs. Here, we will guide you on how to install and seal gutter end caps effectively.
To begin with, the first step in installing and sealing gutter end caps is ensuring that your gutters are clean and free from debris. This is important as any dirt or debris can interfere with the proper installation of the end cap.
Once your gutters are clean, carefully measure the length of the end cap needed for each section of your gutter. It's crucial to have accurate measurements to ensure a secure fit.
After obtaining the measurements, it's time to apply a high-quality silicone sealant along the inside edge of the end cap. This will create a watertight seal and prevent any leaks from occurring.
Gently press the end cap into place on top of the gutter, making sure it fits snugly. Use screws or rivets to secure it in place, ensuring that it is firmly attached.
A true story, an example comes to mind where a homeowner neglected to properly seal their gutter end caps. During heavy rain, water started leaking from their gutters and caused significant damage to their home's foundation. The repairs ended up costing them thousands of dollars, not to mention the hassle and inconvenience they had to endure. Don't let this happen to you - take the time and effort to install and seal your gutter end caps correctly.
Remember, proper installation and sealing of gutter end caps is crucial in preventing leaks and water damage. By following these steps carefully, you can ensure that your gutters remain in excellent condition and protect your property from costly repairs caused by leaks.
Without properly installing and sealing gutter end caps, your home will cry more than you did during the last season finale of your favorite TV show.
Importance of Properly Installing and Sealing Gutter End Caps
Properly installing and sealing gutter end caps is crucial for preventing leaks and maintaining the functionality of your gutter system. Without secure and sealed end caps, rainwater can seep into the gutters, causing damage to your home's foundation, landscaping, and even the gutters themselves.
To ensure that your gutter end caps are installed and sealed correctly, follow this 5-step guide :
- Prepare the Gutters: Clean out any debris or leaves from the gutters to ensure a clean surface for installation.
- Measure and Cut End Caps: Measure the length of the gutter end and cut the end cap to fit securely.
- Attach End Caps: Apply a generous amount of silicone sealant to both ends of the gutter. Press the end cap firmly onto one end of the gutter, making sure it aligns properly.
- Seal the Joint: Apply more silicone sealant along the joint between the gutter and end cap, ensuring a watertight bond. Smooth out any excess sealant with a putty knife.
- Repeat for Each End: Repeat this process for each gutter end, ensuring that all end caps are securely attached and sealed.
It's important to note that each step should be done carefully and thoroughly to prevent any gaps or openings where water can leak through. Additionally, regular maintenance is essential to check for any signs of wear or damage to ensure ongoing protection against leaks.
In addition to these steps, other unique considerations are depending on factors such as climate or the type of gutter material used. It is recommended to consult with a professional if you have specific concerns or requirements for your gutter system.
An interesting fact regarding gutter installation comes from The Heights Aluminum, Inc. , based in Venice, Florida. They specialize in providing expert guidance on proper installation techniques that can significantly extend the lifespan of your gutters while minimizing potential issues like leaks.
By following these steps diligently and seeking professional advice when necessary, you can ensure the proper installation and sealing of gutter end caps, leading to a well-functioning gutter system that effectively protects your home from water damage. The only thing more satisfying than a properly installed gutter end cap is knowing you won't be swimming in regret when the rainy season hits.
Necessary Tools and Materials
Here are some essential items you will need for gutter installation:
- Screwdriver: A screwdriver is essential to properly attach the end caps to the gutters.
- Sealant: Use a high-quality sealant to prevent any leaks from occurring at the joints.
- Gutter End Caps: Make sure you have the correct size and type of end caps for your specific gutter system.
- Cleaning Equipment: Before installation, clean out any debris or dirt from the gutters for better adhesion.
- Safety Gear: Protect yourself with gloves and safety glasses while working on the gutters.
- Ladder: Use a sturdy ladder to safely access the gutter system.
Furthermore, it's crucial not to overlook some unique details. The screwdriver should match the type of screws used in your gutter system. Ensure that the sealant is compatible with both aluminum and vinyl gutters. Additionally, consider using a silicone-based sealant for better durability.
Get ready to break out your handyman skills and impress your neighbors with gutter installation – or at least provide them with some entertainment as they watch you struggle.
Preparing the Gutter for Installation
To prepare the gutter for installation, follow these steps:
- Clear debris: Remove any leaves, twigs, or dirt from the gutter using a small brush or scoop. Make sure the gutter is clean and free of obstructions before proceeding.
- Inspect for damages: Check the gutter for any signs of damage, such as cracks or holes. If you notice any issues, repair them before installing the end caps to ensure a proper seal.
- Measure and cut: Using a tape measure, determine the length needed for the end cap. Mark the measurement on the cap and carefully cut it using tin snips or a hacksaw.
- Apply sealant: Before attaching the end cap, apply a generous amount of gutter sealant to both ends of the gutter where the cap will be installed. This will create a watertight seal and prevent leaks.
Additionally, consider these suggestions to enhance the effectiveness of your gutter installation:
- Use high-quality materials: Invest in sturdy and durable gutters and end caps that can withstand harsh weather conditions and prevent corrosion over time.
- Properly align end caps: Ensure that each end cap is aligned correctly with the gutter to create an even seam. This will minimize gaps where water could potentially leak through.
By following these steps and suggestions, you can properly prepare your gutters for installation while minimizing the risk of leaks. Taking these precautions will help preserve the integrity of your gutter system and protect your home from water damage effectively.
Finding the right end caps is like picking the perfect partner - they should fit snugly, prevent leaks, and not fall apart during a storm.
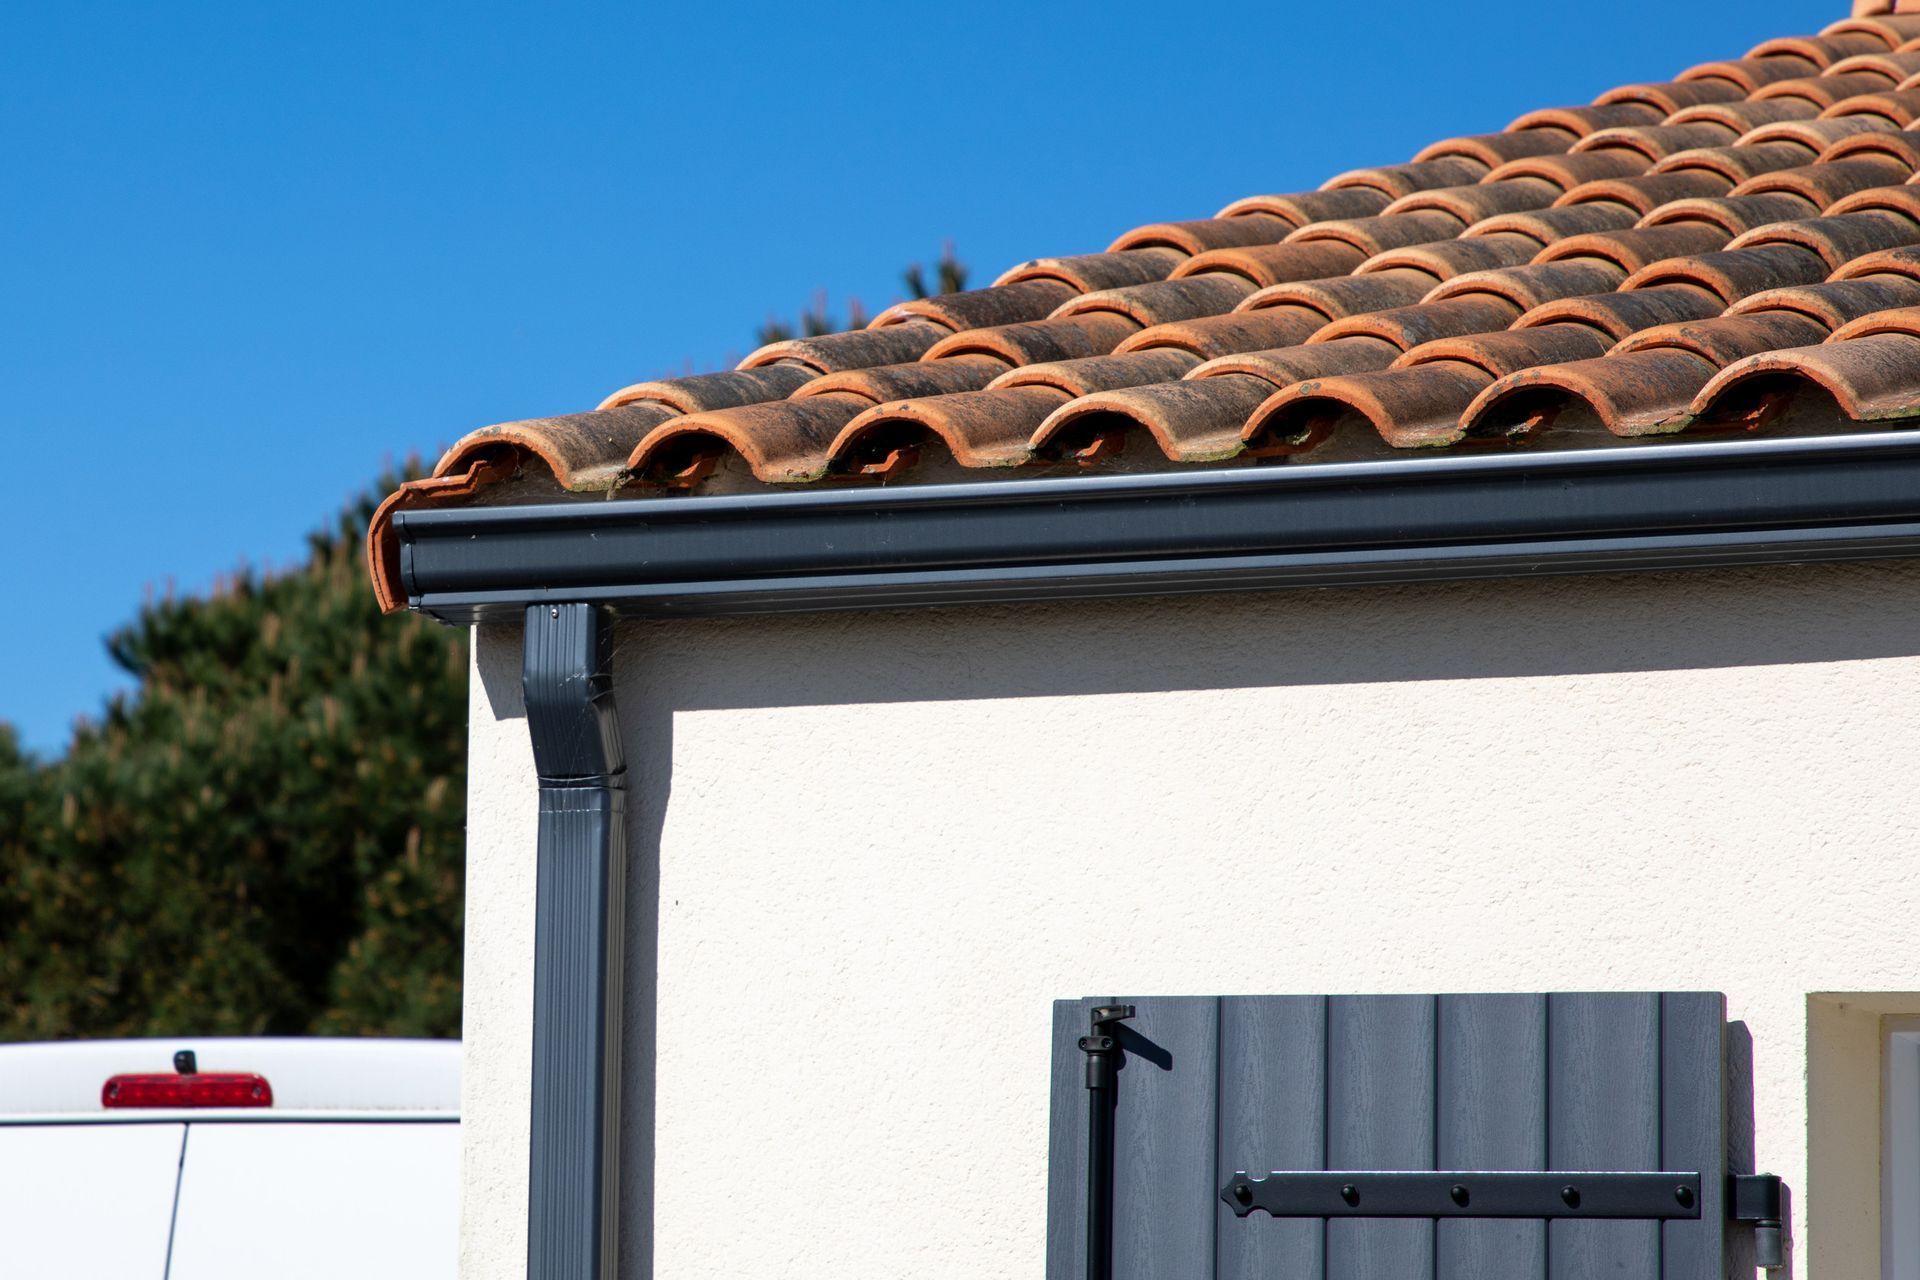
Choosing the Right End Caps
Choosing the right end caps for your gutters is crucial to prevent leaks and ensure proper functioning. The perfect end cap will seamlessly fit into your gutter system, providing a watertight seal that keeps water from escaping.
When selecting end caps, consider the material of your gutters. If you have aluminum gutters , opt for aluminum end caps as they are compatible and offer a secure fit. Similarly, if you have vinyl or steel gutters , choose corresponding end caps that complement their material.
Additionally, make sure the size of the end cap matches your gutter width . Using an ill-fitting end cap can lead to leaks and other drainage issues. Measure your gutters carefully before purchasing end caps to avoid any discrepancies.
Furthermore, consider the aesthetic appeal of the end caps. They should blend seamlessly with the overall look of your gutter system and complement the style of your home. This attention to detail will enhance the visual appeal of your home's exterior.
Why trust the end of a gutter to amateurs when you can seal it tighter than a frustrated octopus trying to open a jar of pickles?
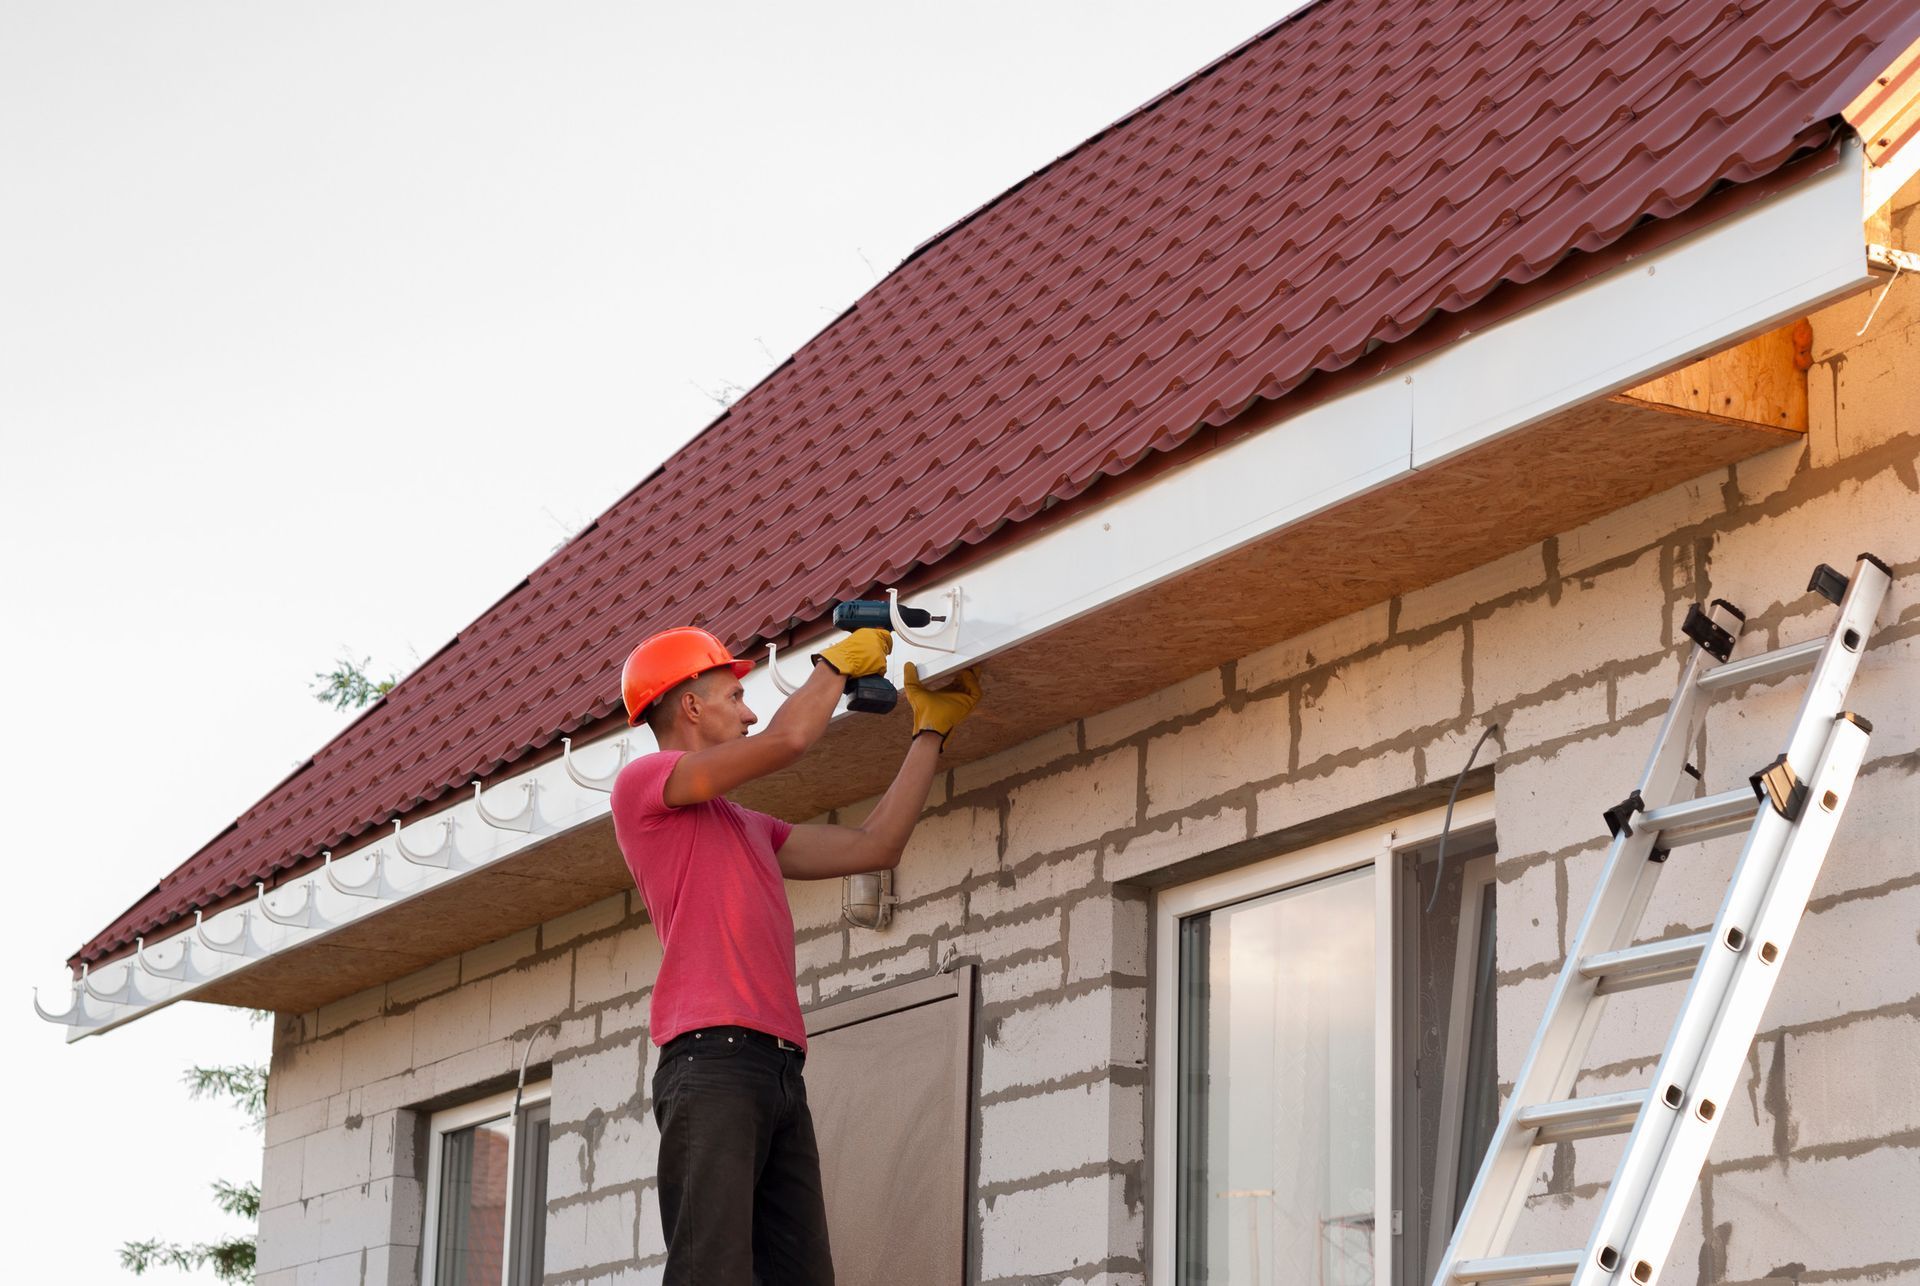
Installing the End Caps
To properly install gutter end caps and prevent leaks, follow these simple steps:
- First, ensure that the area where you will be installing the end cap is clean and free from any debris or obstructions. This will ensure a secure and watertight seal.
- Next, apply a generous amount of adhesive or sealant to the inside of the end cap. This will help create a strong bond between the end cap and the gutter.
- Carefully position the end cap at the desired location on the gutter and press firmly to create a tight seal. Make sure that it is aligned properly with the edge of your gutter to maintain an aesthetically pleasing appearance.
- Finally, give the adhesive or sealant ample time to dry according to the manufacturer's instructions before testing for any potential leaks or drainage issues.
Remember, proper installation of gutter end caps is essential for keeping your gutters functioning effectively and preventing water damage to your home's foundation and landscaping.
Pro Tip: To further enhance the effectiveness of your gutter system, consider installing gutter guards or screens to prevent debris from clogging your gutters. This will help reduce maintenance requirements and prolong the lifespan of your gutters.
By following these steps and implementing additional measures as needed, you can ensure that your gutter system remains in optimal condition year-round, providing reliable protection against water damage for years to come.
Do you want to keep your gutters leak-free? Seal the end cap like your life depends on it - or at least your home's foundation does!
Sealing the End Cap to Prevent Leaks
Water leakage from gutter end caps can be a frustrating issue, but with the right knowledge and techniques, it can be effectively resolved. Here are three simple steps to ensure a proper seal and prevent leaks:
- Clean the area: Before installing the end cap, make sure the surface is clean and free of debris. Use a brush or cloth to remove any dirt or dust particles that could hinder the adhesion process.
- Apply sealant: Once the area is clean, apply a high-quality gutter sealant along the edges of the end cap. This will create a watertight barrier and prevent any water from seeping through. Ensure that you evenly spread the sealant for maximum effectiveness.
- Secure it firmly: After applying the sealant, firmly press the end cap into place. Make sure it sits snugly against the gutter system to guarantee a tight fit. You can use a rubber mallet or hammer to gently tap it into position if necessary.
It is important to note that different types of gutters may require specific sealants or installation techniques. Therefore, it is recommended to consult with a professional or refer to manufacturer guidelines for optimal results.
By following these steps, you can safeguard your gutters against leaks and avoid potential damages caused by water seepage. Don't let leaks dampen your spirits - take action now to protect your home!
Remember, proper sealing of end caps not only prevents leaks but also prolongs the lifespan of your gutter system. Don't miss out on this essential maintenance task! Take control today and enjoy peace of mind knowing your gutters are in excellent condition.
Stay on top of your gutter game, because neglecting post-installation inspections and maintenance is a leaky slope you don't want to slide down.
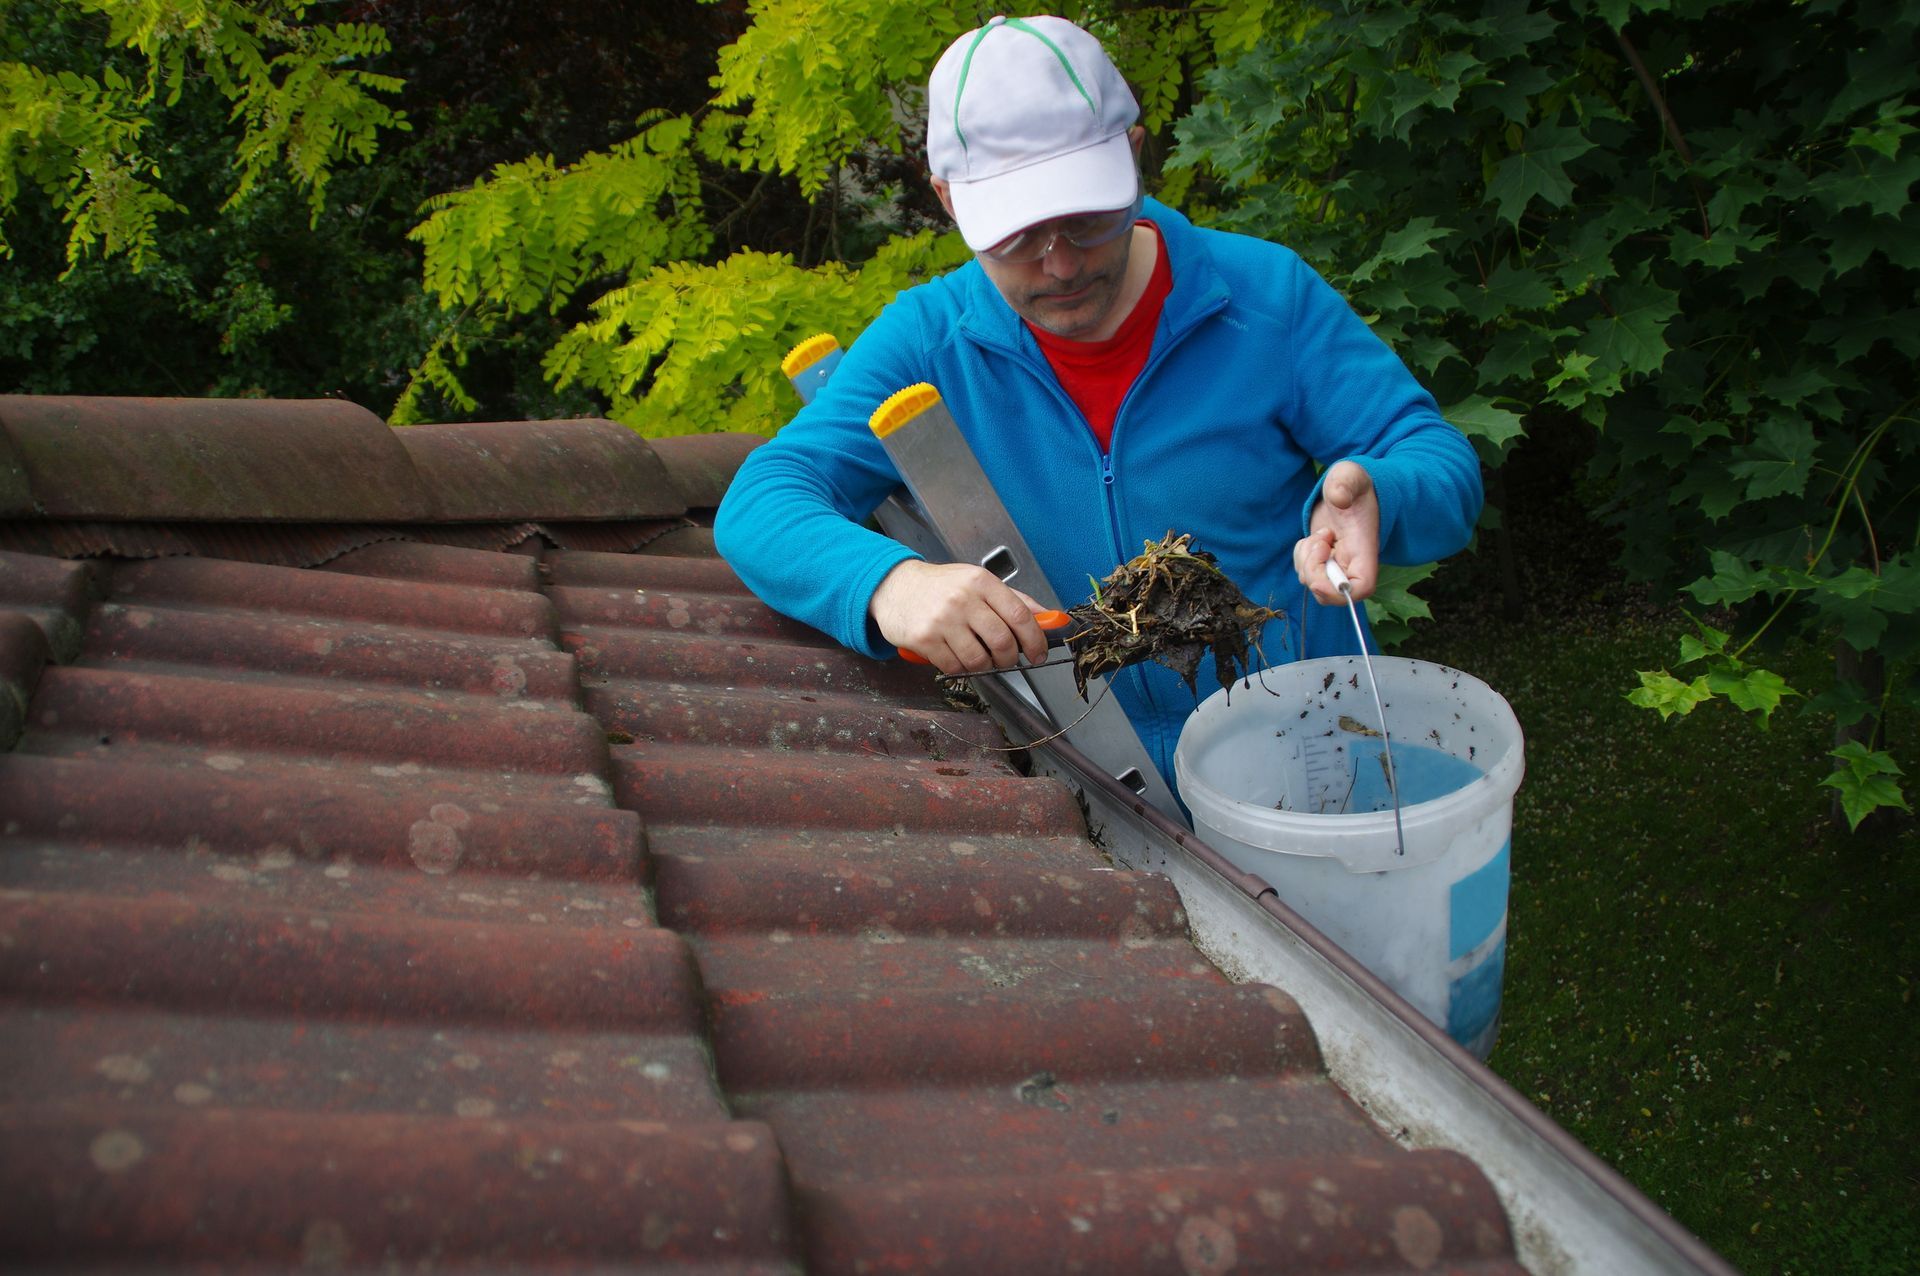
Post-Installation Inspection and Maintenance Tips
To keep your gutters in optimal condition, it's crucial to perform regular inspections and maintenance. Here are some helpful tips:
- Clear debris: Remove any leaves, twigs, or other debris that may have accumulated in the gutters. This will prevent clogs and ensure proper water flow.
- Check for leaks: Inspect the entire gutter system for any signs of leaks or damage. Pay close attention to the end caps, as they are prone to leakage if not properly sealed.
- Seal end caps: Ensure that all gutter end caps are securely sealed. Use a high-quality sealant to create a watertight bond and prevent any leaks from occurring.
- Maintain downspouts: Make sure the downspouts are clear of obstructions and effectively direct water away from your home's foundation. Regularly check for any damage or blockages.
It's worth noting that when inspecting and maintaining your gutters, always prioritize safety by using proper equipment such as a sturdy ladder and gloves.
Consider these suggestions to enhance the effectiveness of your maintenance routine:
- Schedule regular inspections: Set a specific time interval (e.g., every six months) to conduct thorough inspections of your gutter system. This proactive approach helps identify issues before they become major problems.
- Invest in gutter guards: Installing gutter guards can significantly reduce the amount of debris entering your gutters, minimizing potential clogs and simplifying maintenance tasks.
- Trim trees near the gutters: Overhanging branches can contribute to clogging issues by depositing leaves and other debris into the gutters. Trim back any tree branches that pose a risk.
- Monitor water flow during rainstorms: During heavy rainfall, observe how water flows through the gutters. Look for any signs of overflow or pooling as this may indicate a blockage or inadequate gutter capacity.
By following these maintenance tips and implementing the suggested measures, you can ensure that your gutter system remains in optimal condition, minimizing the risk of leaks and preserving the integrity of your home.
The end of this article is like a well-installed gutter end cap - tightly sealed and leak-free, you'll feel closure and relief.
Conclusion
To ensure a proper installation and seal of gutter end caps, attention to detail is essential. By following the correct process and implementing the right techniques, you can prevent leaks and maintain the integrity of your gutter system.
When installing gutter end caps, it is important to start by cleaning the area thoroughly. Remove any debris or dirt that may hinder the adhesion of the sealant. Once cleaned, apply a generous amount of adhesive specifically designed for gutters onto the inside of the end cap. Make sure to evenly spread the adhesive to ensure a tight seal.
Next, gently press the end cap onto the open end of the gutter. Apply slight pressure while ensuring it aligns perfectly with the existing gutter profile. Take your time to make any necessary adjustments before proceeding.
Once in position, firmly push down on the end cap to secure it in place. Apply additional pressure along its length to guarantee a strong bond with the gutter. This will prevent water from seeping through and causing leaks.
To further reinforce this seal, consider using screws or rivets to secure the end cap. This added stability can provide extra protection against strong wind gusts and heavy rainfall.
In addition to proper installation techniques, regular maintenance is crucial for preventing leaks in gutter systems. Regularly inspect your gutters for any signs of wear or damage such as cracks or holes. Promptly address any issues by applying patches or replacing damaged parts.
By following these installation and maintenance suggestions, you can effectively install and seal gutter end caps, preventing leaks and ensuring a reliable gutter system for your home or building.