Get in touch
619 Tamiami Trl N, Nokomis, FL 34275, United States of America
Got Questions? Call Us Today (941) 492-6064
How To Remove Seamless Gutters
Safety
Removing seamless gutters is not an easy task, and it should be done carefully so that it can be done safely. There are several safety measures that must be taken in order to ensure the safety of both the contractor and the homeowner. This blog will cover the safety precautions that must be taken when removing seamless gutters from a home.
- Ensure that all power tools are in good working order and that safety guards are in place.
- Use a ladder that is stable and secure.
- Wear protective gloves and eye protection.
- Be aware of your surroundings and be mindful of any obstacles that may be in the way.
- Have someone nearby to help if needed.
- Dispose of debris properly.
Wear protective gear
Removing seamless gutters is a relatively simple job, but it’s important to stay safe while doing it. Wear protective gear including work gloves, safety glasses, and a face mask or respirator to protect your lungs from possible airborne contaminants. Also make sure that you are wearing the appropriate clothing such as long pants and closed-toe shoes.
It’s also always smart to have a partner who can help hold the ladder and provide assistance if necessary.
In addition to wearing the appropriate clothing , it’s also important to take extra safety measures when dealing with height and ladders. Make sure that all ladders used for this project are professionally rated for the job at hand. Only use tall, extendable ladders when necessary, and never exceed the load capacity of any tool used during this process. Additionally, be sure that your ladder is secure at all times by either steadying upright with a wall or tying down for windy conditions – especially when on uneven terrain or in hilly areas. Finally, avoid contact with any power lines while performing this work as shock hazard could be lethal!
Prepare the area and secure ladders
Before you begin removing seamless gutters and downspouts from a home or building, it is important to make sure the area is safe for work . Utilize safety harnesses, secure ladders securely, and remove any objects that may cause an obstruction. It is also important to check the weather, as wet weather and strong wind can precent completion of the job on a timely basis.
Check for any loose wire connections or sharp objects, such as nails or screws. Be sure to wear protective clothing and gloves , as well as a dust mask to stay safe from flying debris. Additionally, positioning yourself safely while working on ladders is key in preventing injuries. Adequate training or supervision may be necessary before attempting gutter removal in order to ensure your safety.
- Utilize safety harnesses and secure ladders securely.
- Remove any objects that may cause an obstruction.
- Check for any loose wire connections or sharp objects, such as nails or screws.
- Wear protective clothing and gloves , as well as a dust mask.
- Position yourself safely while working on ladders.
- Adequate training or supervision may be necessary.
Removing the Old Gutters
If you’re looking to replace your old seamless gutters with new ones , the first step is to remove the old gutters. Removing your old gutters is a process that is best performed by a professional, but if you’re feeling up to the task, here are some tips to help you get started:
- Tip 1
- Tip 2
- Tip 3
- Tip 4
- Tip 5
Disconnect the downspouts
Before you can remove seamless gutters, you need to disconnect the downspouts. This is a critical step to make sure the gutters come off completely and in one piece.
You can start with either end of the gutter run, although it may be easier to start from the downspout side. Use a ladder to reach the area where the downspout connects to the gutter and then use a flathead screwdriver or pair of pliers to carefully loosen and unscrew any clamps or screws around its circumference. If needed, you can use a small flexible pry bar or a chisel and hammer to gently pull away any stuck-on caulking material.
If there is any corrosion present around these connections, take time to carefully scratch away any build-up before reconnecting them with new screws, brackets, or clips later when attaching your new gutters. Check both ends of each downpipe carefully before moving on – ensuring that it has been completely disconnected from both ends before attempting removal.
Remove the existing gutter system
Removing an existing seamless gutter system from your house may seem like a daunting task. There are a few approaches you can take, depending on the type of system you have installed and the condition of your house structure.
One possible solution is to simply disconnect the existing gutters at their top connection point . If you are lucky enough to have all aluminum parts, then this type of removal will be relatively easy. Carefully examine each gutter section and locate the two rivets that hold it together at the top. With a drill equipped with a 7/32” drill bit, drill out and remove both rivets and separate each section from its neighbor. Make sure to separate them one at a time so that you don’t place too much strain on any one part of the structure or supporting hardware.
Another potential solution is to cut or saw through any connecting hardware that holds each section together. Use caution when doing so, not wanting to damage any attaching surface behind it or any useable support structure above it. If there are no top connections between sections, then sawing can help speed up removal as well as simplify putting up your new seamless gutters as fewer pieces need to be handled at height during installation.
When removing existing gutters make sure to wear safety glasses and gloves while handling potentially sharp metal edges around rusted screws and nails as they can potentially cause injury without protection in place. Take note of where these parts came from in case your new system has similar connections; forethought will save time during installation!
Preparing the Area
Before beginning to remove seamless gutters, you'll want to prepare the area to make the job easier. Make sure to clear the area around the gutters of any leaves, debris and dirt. Then, be sure to climb up to the roof and inspect the gutters for any signs of damage or corrosion. This will allow you to make sure that the gutters are safe to take down and that you don’t cause any damage while doing so.
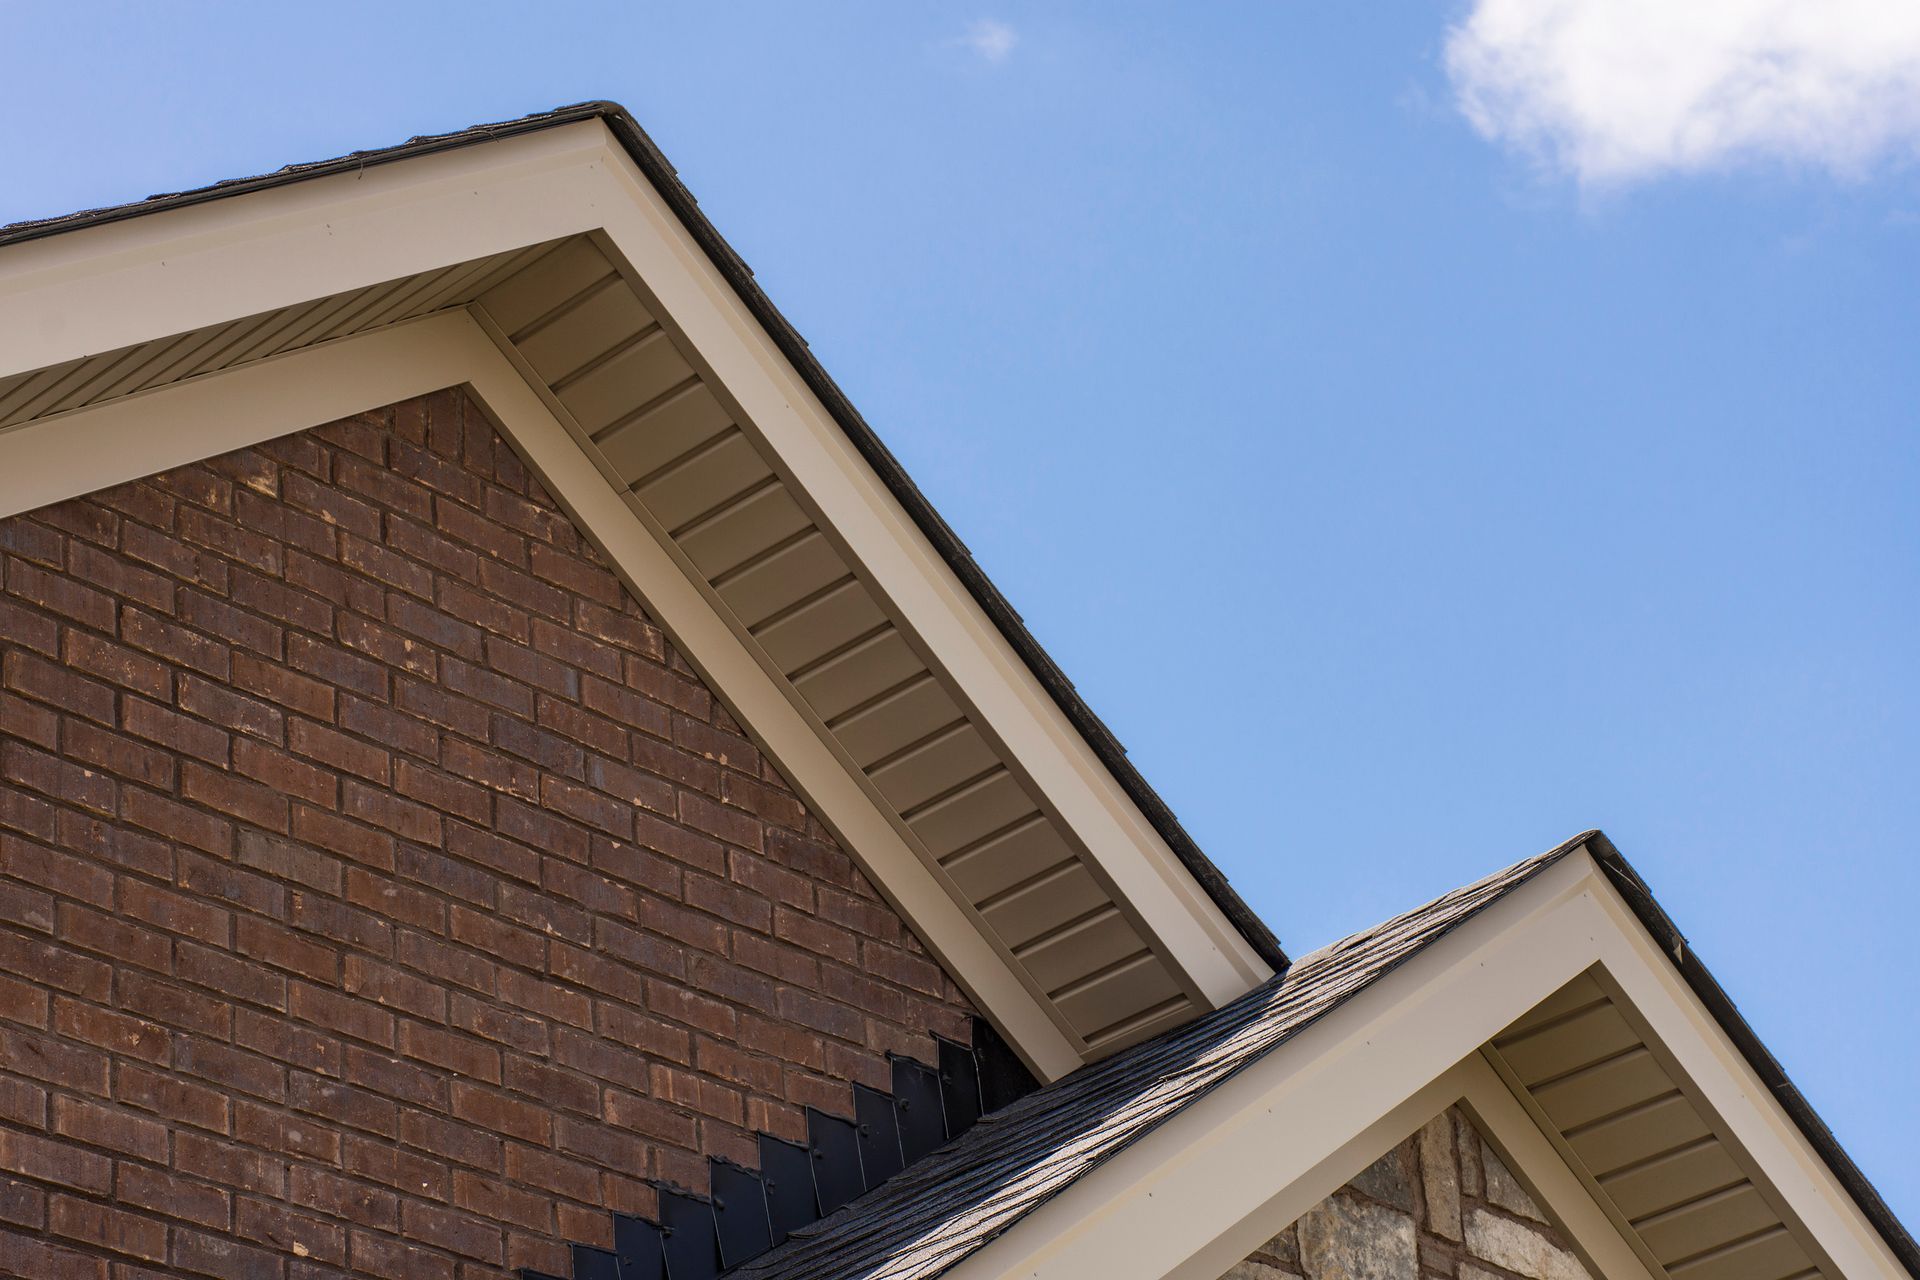
Check for any damage to the fascia boards
Before you start to remove the seamless gutters, it is important to check for any damage to the fascia boards. Make sure that all of the nails have been removed that are securing the gutters the fascia boards, and check the condition of all of the boards. If they are in any way decayed or rotted, this could present a problem and should be taken care of before you start removing and replacing your seamless gutters.
Next, you'll need to inspect the area around your home to confirm that no other immediate repairs need to be made prior to installation. Make sure that extra fasteners like nails or screws have been removed from around your home's trim near where your gutter would be placed, and inspect for any cracks or breaks in roof shingles or siding trim that could pose a problem for a proper installation. If any areas do require repair, now is a good time to take care of those before beginning installation on your new seamless gutter system:
- Check for any damage to the fascia boards.
- Remove all nails securing the gutters to the fascia boards.
- Check the condition of all of the boards.
- Remove any extra fasteners like nails or screws from around your home's trim.
- Inspect for any cracks or breaks in roof shingles or siding trim.
- Take care of any repairs that are needed prior to installation.
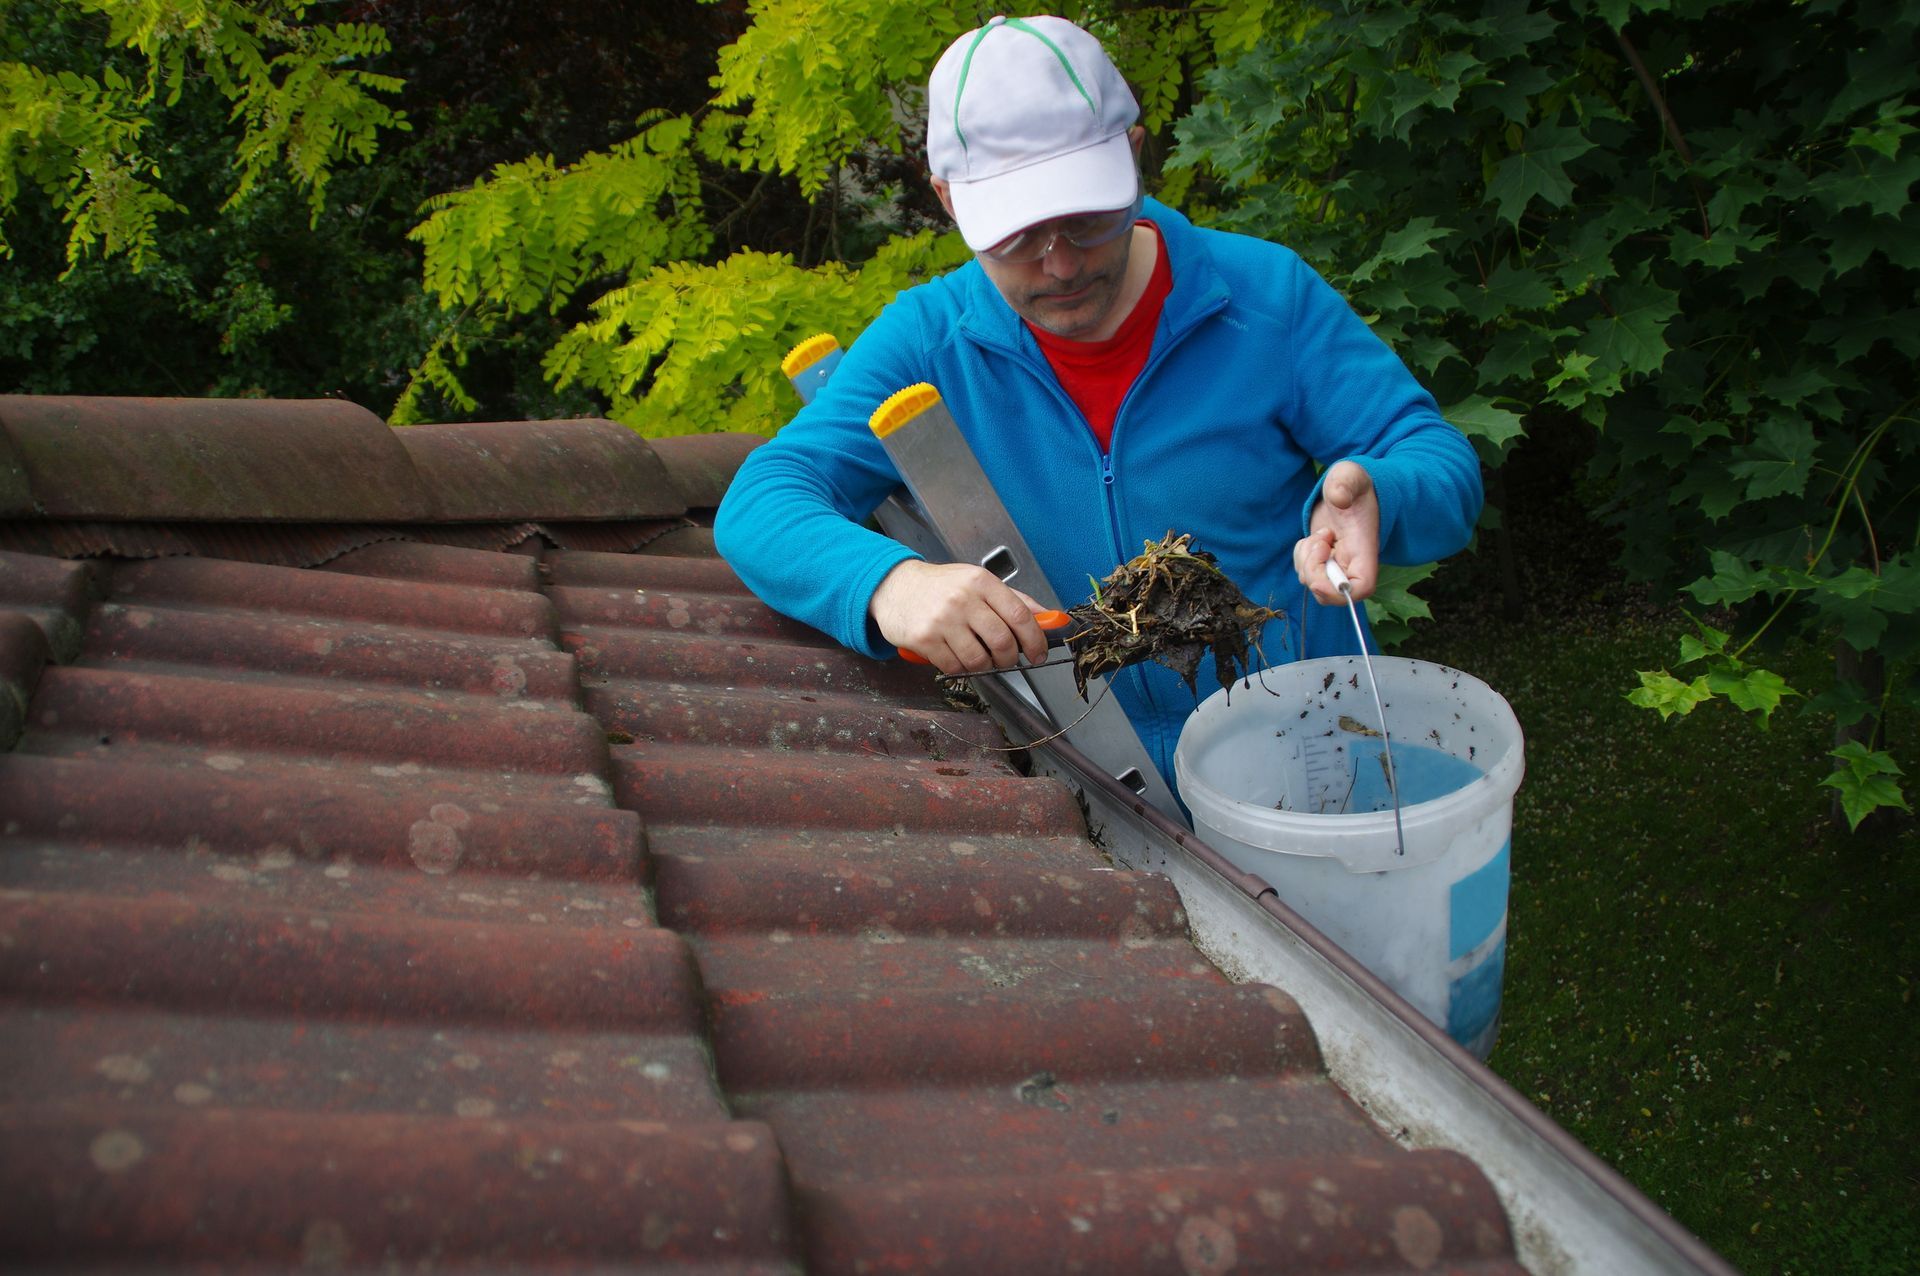
Clean the area and clear any debris
Before beginning the removal process, walk around your entire house and clean the areas around the gutters. Use a garden hose to remove accumulated dirt and debris. Trim overhanging limbs or branches of nearby trees to allow for easy access when removing the seamless gutters . You should also trim back any plants that may be rubbing against or leaning against the gutter system to prevent further damage while removing them.
After clearing any debris, check that all nails used to secure the gutters are tightly fitted and in good condition. Make sure the foundation is stable before attempting to move or lift any part of the original seamless guttering system.
Installing the New Gutters
Installing new seamless gutters on your home or business can be an easy and cost-effective way to protect your property. But before you install the new gutters, you'll first need to remove the old ones. This blog post will provide a step-by-step guide to safely and properly remove seamless gutters . We'll also talk about some tips and tricks to make the process go more smoothly. Let's get started.
- Step 1:
- Step 2:
- Step 3:
- Step 4:
- Step 5:
Measure and cut the new gutters
Measuring the length and width of the new gutters is an important step to ensure they fit properly. Measure the length first, then measure the width and make sure to subtract 1/2 inch from each measurement for expansion . Use a miter saw or tin snips to cut the gutters to size. Make sure that all edges are smooth after cutting with a metal file or sandpaper.
Once you've measured and cut the new gutters, use galvanized roofing screws and sealant to attach them in place. It's better to use two screws per joist instead of one, as this will make the attachment more secure against storms and weathering over time. To make sure it won't leak, apply a waterproof sealant around all areas where two panels meet.
Start by running your gutters along one side of your roofline until you reach a corner post. You'll need a bracket or fastener at every joint, especially corners and places where you have connected sections together. Install end caps at each end of your gutter system before attaching downspouts – these will further reduce potential leaks down the line. Finally, slide elbows onto each end of the downspouts followed by straps that secure them in place on your siding or stucco walls below.
By following these steps correctly, you can be confident that your new seamless gutters will do their job effectively: directing water off of your roof away from foundations, siding and other building components so there is no structural damage caused by leaking water or moisture infiltration due to improper drainage in Venice FL where storms with heavy rain showers occur regularly.
Attach the new gutters to the fascia boards
Once you’ve figured out where to place the first piece, start sliding it up and under the front edge of the fascia board until it’s resting securely against it in all locations. After that, you can start drilling holes every 12–24 inches (depending on what type of gutters you’re installing) along your gutter with a pilot hole bit and use self-tapping gutter screws that have rubber washers inside them; this will help prevent leakage. You can also pre-drill holes in your fascia board for easier insertion of screws.
When installing aluminum gutters, make sure all pieces overlap together so that rainwater will go into the gutter rather than running down between them. Always refer to manufacturer instructions for proper installation instructions and make sure all parts are secured tightly with properly placed screws – this includes all brackets such as hangers/brackets, pipe straps, corner pieces etc., so they do not come loose during weather changes or other conditions such as strong wind forces due to storms or high winds. Additionally, it’s important to cover any gaps around your gutters with mastic sealant prior to adding paint or primer in order to ensure maximum longevity and protection against slipping a joint during heavy rains/snowfalling season!
Finishing Up
Removing seamless gutters is a fairly simple process, but it's also important to remember to clean and inspect them correctly before doing so. This is to ensure that any necessary repairs or replacements can be made and that the gutters can be properly re-installed with all the parts in good condition.
In this final section, we'll go over how to properly finish up the gutter removal process:
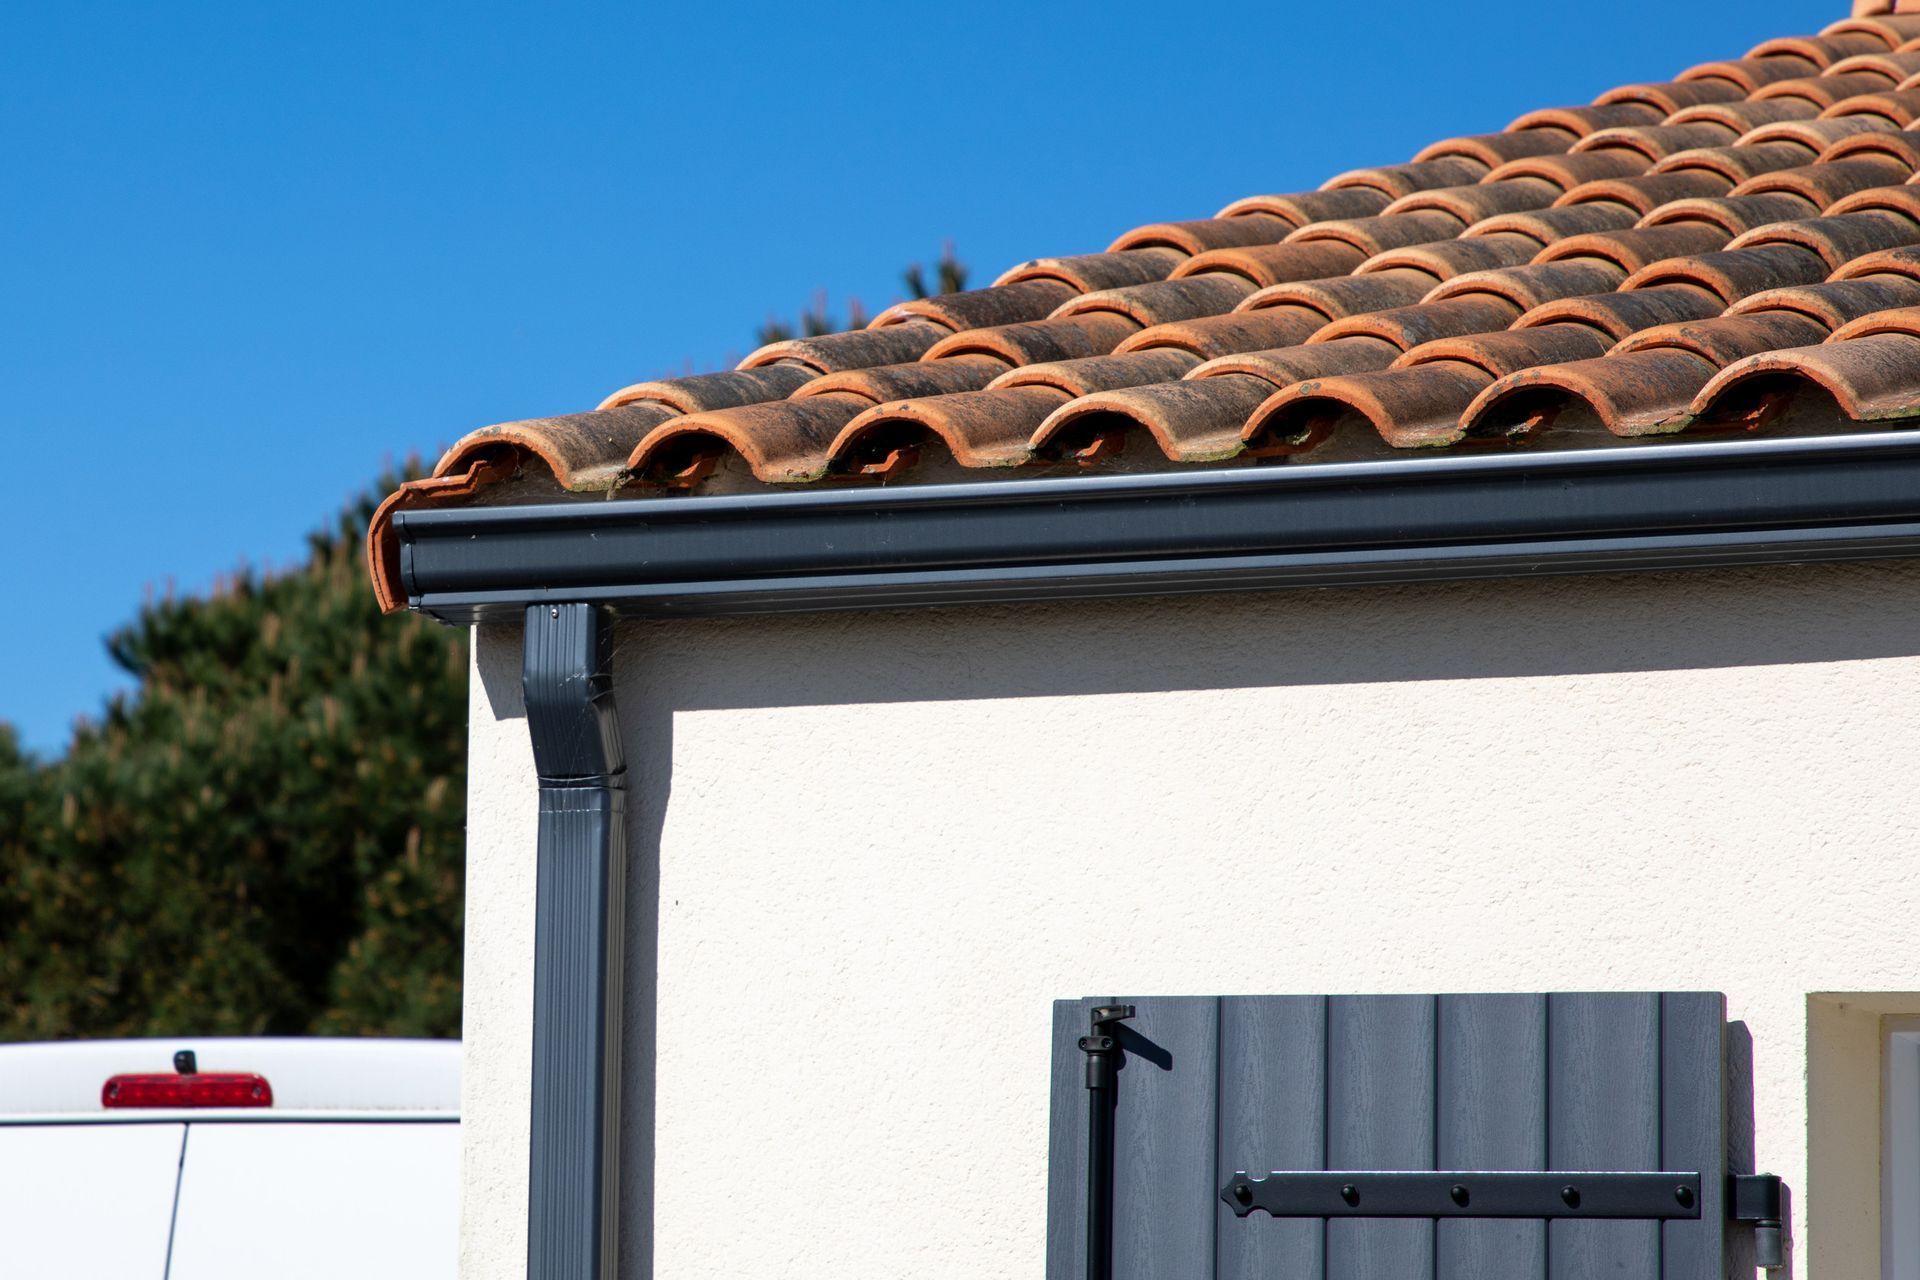
Install the downspouts
The final step to finishing up seamless gutter installation is to install the downspouts. The downspouts are available in round and rectangular shapes, each of which provide an efficient means for the rain water to drain away from the home. A standard four inch round decorative downspout can be installed on the corner or between two runs of gutter, or a larger size if necessary with a vinyl compound called couplings to accommodate.
If rectangular downspots are desired, first use mason’s line and prepare two straight lines about two feet apart connecting the upper and lower ends of each run of gutter. Use a mason's square for marking 90-degree corners at the beginning and end of each line so that the outside width of each run is consistent between left and right sides. Measure, mark, and cut all required sections accordingly using tin snips; then trial fit them into place before placing any additional sealant at any joints. Finally fasten each section firmly with screws in order to avoid any possible clogs or restrictions along different spans.
After completing this process, it is time to install your special protective caps that helps keep debris like leaves out of your gutters’ drain system. Make sure you take all precautions when handling ladders or roofs for safety reasons during installation, it is always better to err on caution when it comes to working around heights even if all gutters can be accessed from ground level as well!
Check for any leaks or damage
Once all of your seamless gutters have been installed, it is essential to check for any leaks or damage. Begin the inspection process by visually checking for any signs of damage or wear , such as dents, scratches, broken fasteners, and loose brackets. Make sure to check the inside of your gutters as well to ensure no debris is blocking proper water flow. Make sure your downspouts are clear and free of any obstructions .
In addition to inspecting for physical damage, also examine each gutter section during and after a rainfall or by using a garden hose to search for leaks. Look for drips that form around seams or other connections and joints. Applying sealant at these points can help close off any potential weak spots in the gutter system. If you encounter any serious issues with your gutters after installation, it is important to contact an experienced professional right away in order to minimize further property damage.

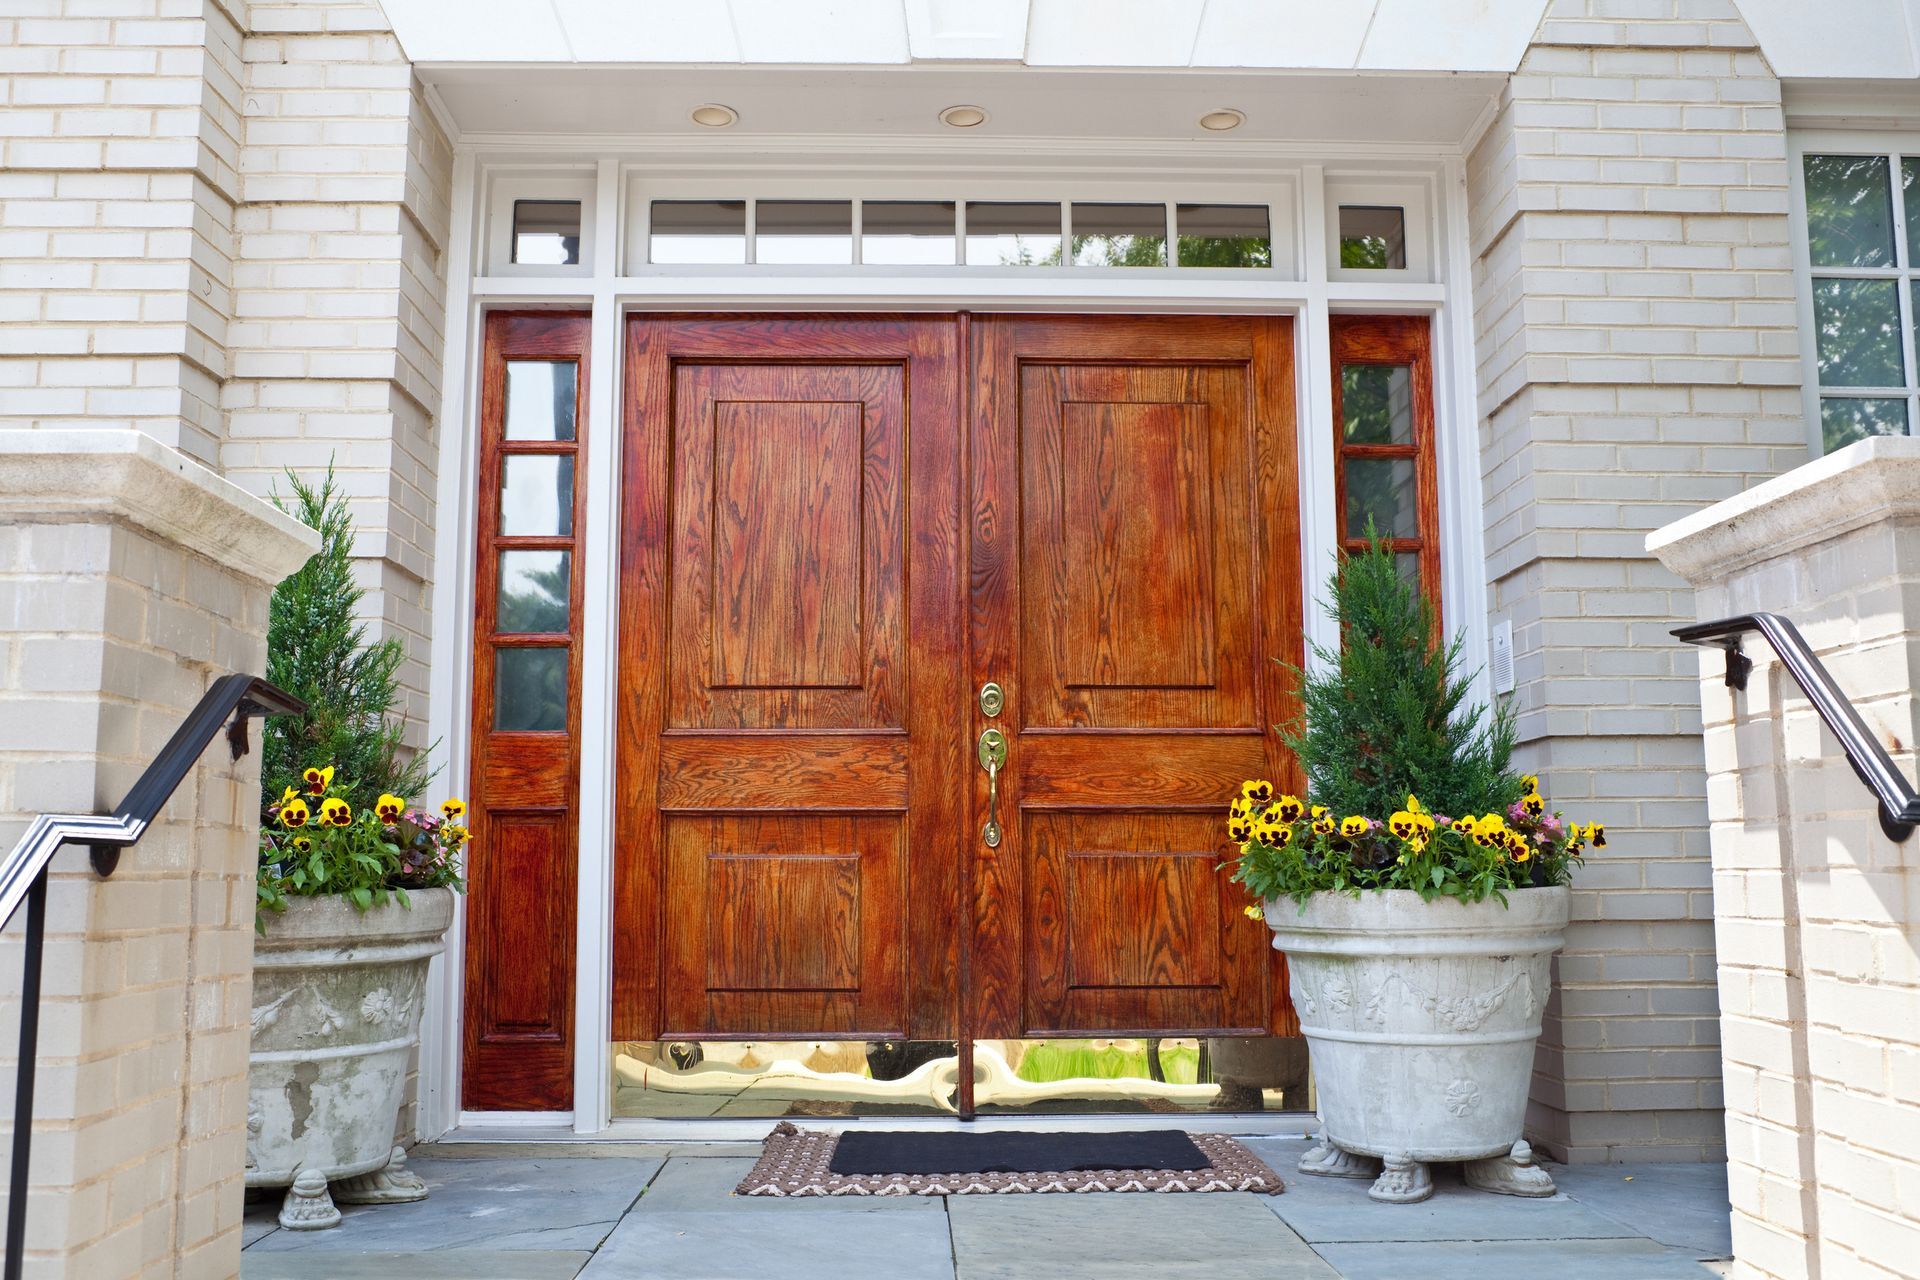


Ready to enhance the look of your property?
Connect with The Heights Aluminum now and let's make your vision a reality!
Register Your Warranty
To activate your warranty please register online here.
The Heights Aluminum is a trusted partner in enhancing properties with superior aluminum installations, offering top-notch craftsmanship and unparalleled service.
Licensed & Insured
License #SCC131151597
GET IN TOUCH
619 Tamiami Trl N, Nokomis, FL 34275, United States of America
OFFICE HOURS
- Mon - Thu
- -
- Friday
- -
- Sat - Sun
- Closed
QUICK LINKS